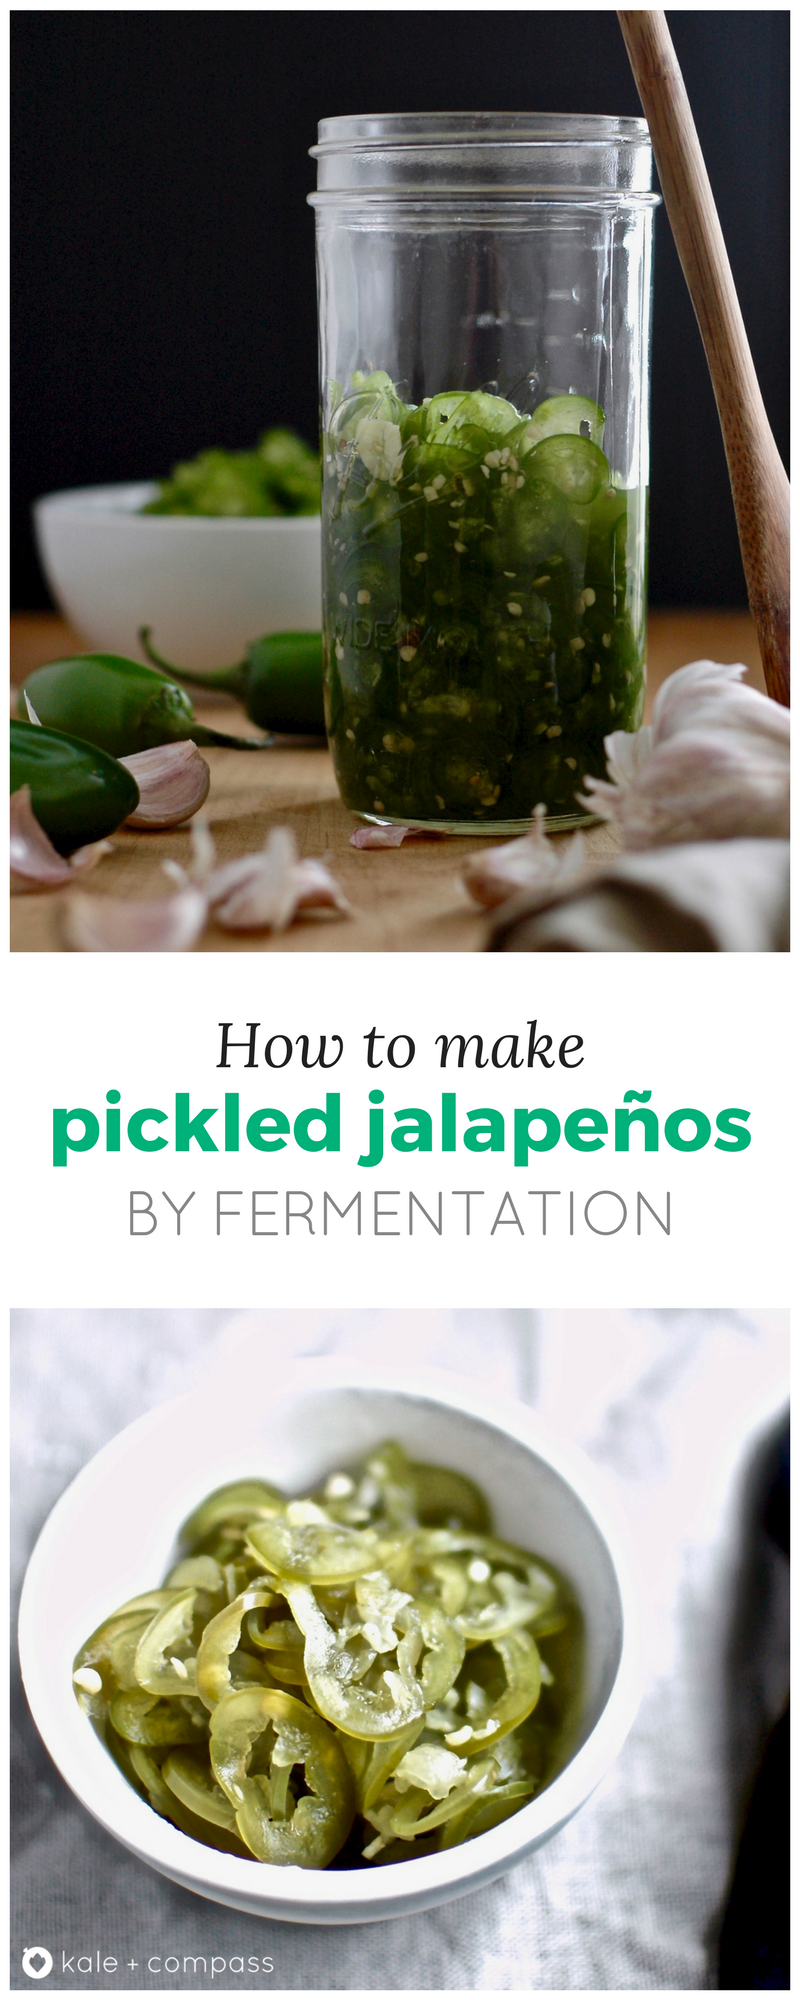
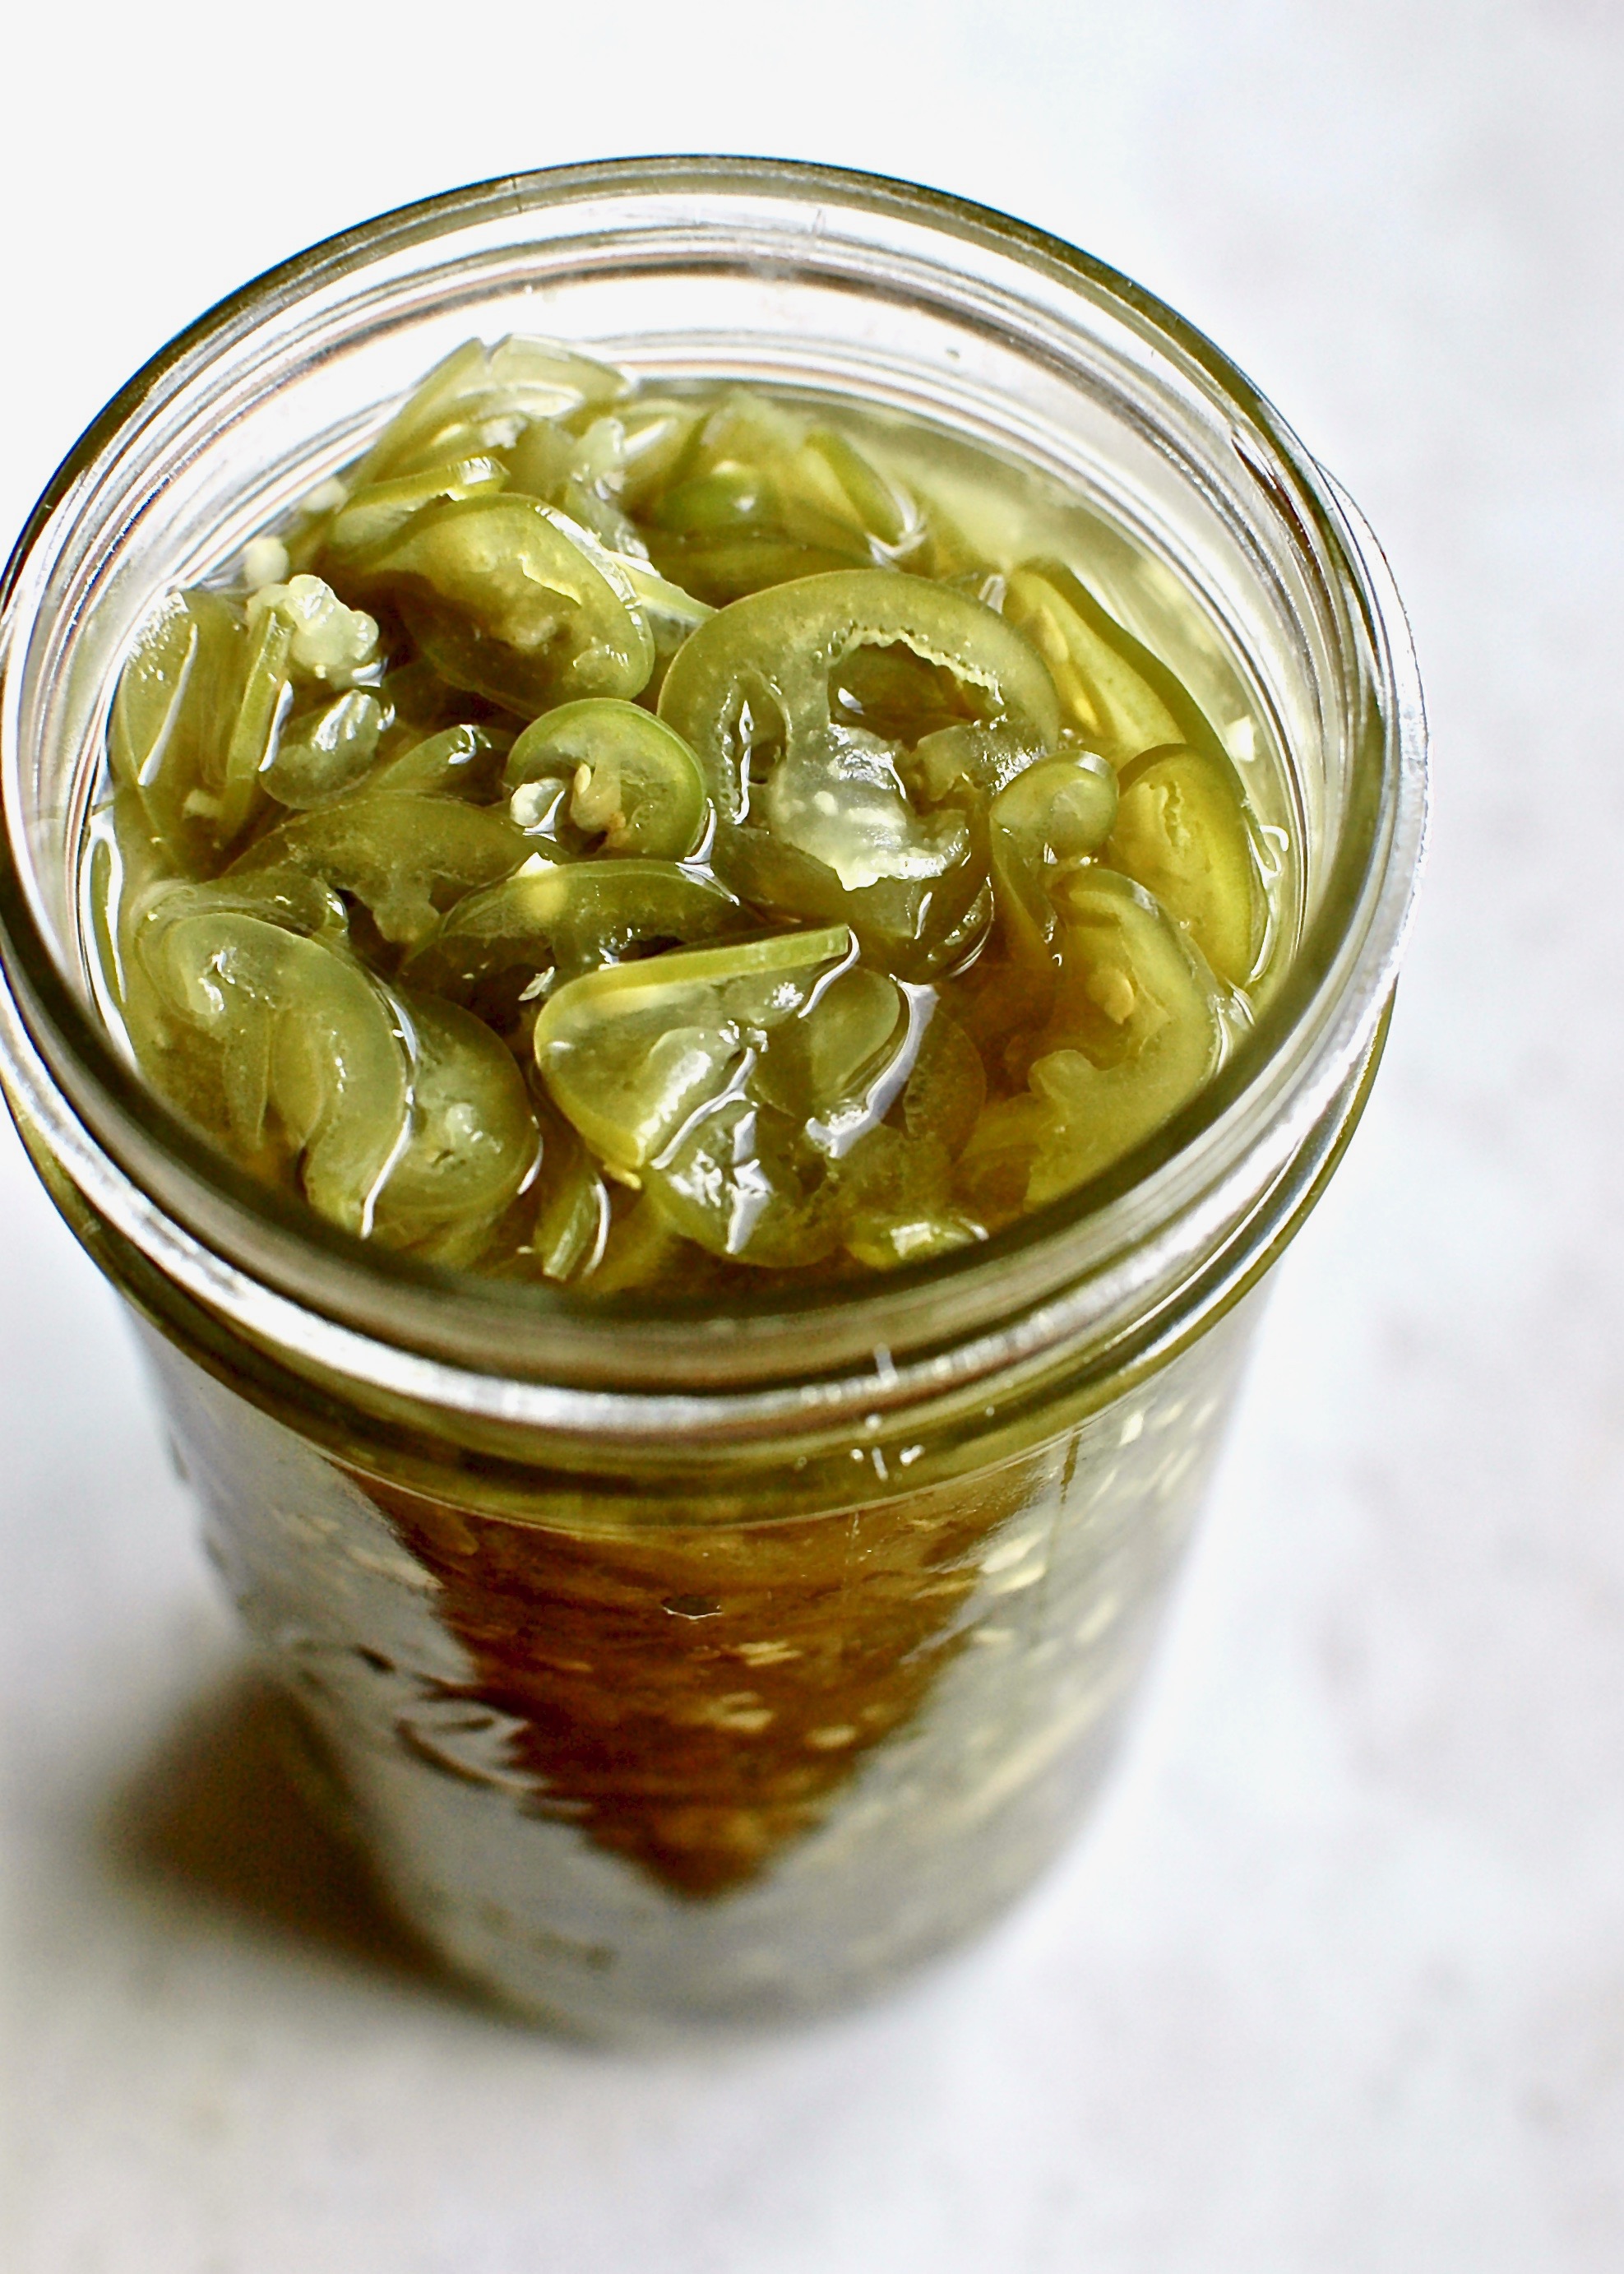
Pickled jalapeños AKA fermented jalapeños AKA lacto-fermented jalapeño peppers (whatever you prefer to call them) are my favorite thing to ferment, hands down. I make these beautiful green babies multiple times a year. If you make a huge batch, the jars will keep in the fridge for months.
I’ve been making these pickles for a while now, and I’m so excited to finally show you how they’re done! Process photos to follow, but really there’s not MUCH process here. Not much of a recipe here either.
Click here to skip straight to the recipe.
Reasons why I love these pickled jalapeños:
- They last in the fridge for months (but we usually eat ‘em up pretty quickly).
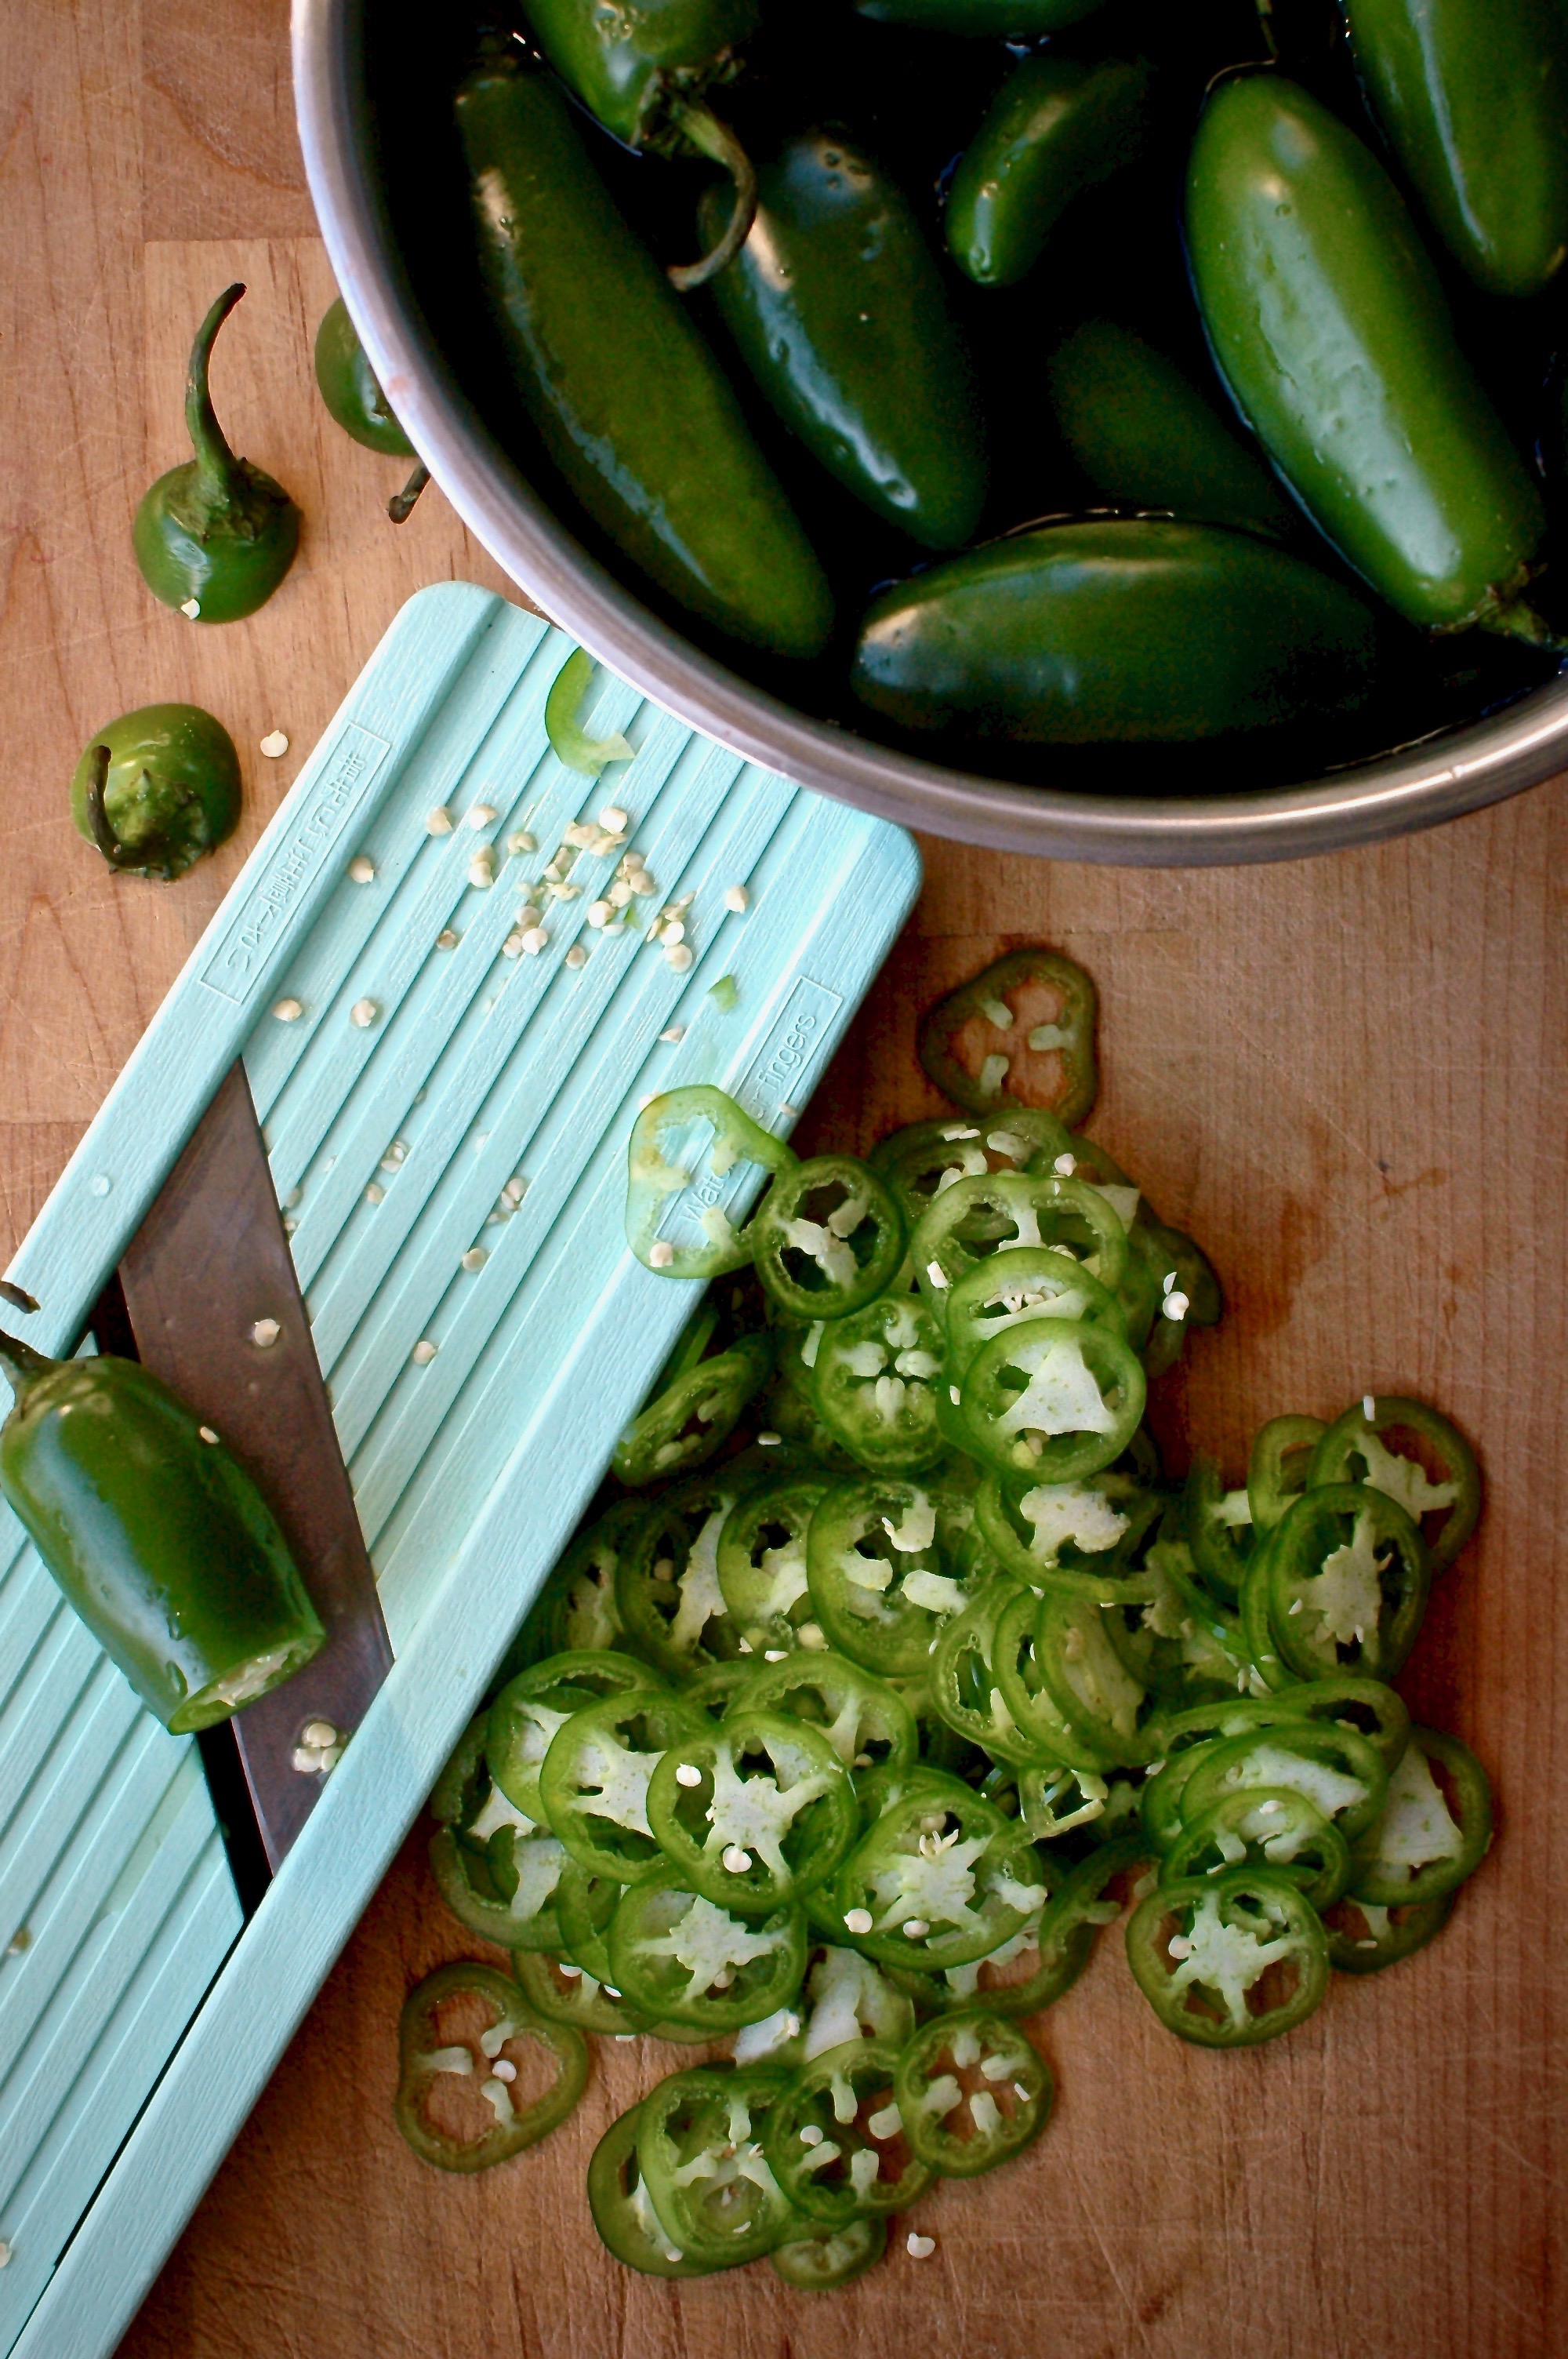
- They are a cinch to make, especially with my favorite mandolin. (The recipe is two ingredients, no joke. Three if you want to add garlic.)
- They don’t require a brine (salt + water solution).
- Since they’re fermented, they give your gut all the good bacteria it needs.
- They’re a very forgiving veg to ferment (they won’t go soft/mushy on you like cucumbers sometimes do).
- They’re much easier to make than canned pickled peppers because you don’t need to do the whole boiling & canning thing!
A couple notes on fermentation:
- Fermenting food is one of the safest ways to preserve food.
- Even though you might think it’s creepy to be growing bacteria on your kitchen countertop, the good bacteria that lives on fermented foods and thrives in a salty anaerobic (sans air) environment actually aids in digestion. Simply put, fermenting foods means you start breaking them down before you even eat them, which makes them much easier to digest.
- So many things we eat and buy from the store are already fermented: chocolate, beer, wine, cider, a slew of condiments, kimchi, kombucha, deli meats, cheeses. So why not try making some of these things at home?
- If it’s moldy, throw it out. Use your best judgement to determine if something isn’t good to eat. Common sense, people! If you’ve got questions let me know in the comments.
Before we get to the recipe: The story of my lovely mandolin
I love going to restaurants that have an open kitchen. It’s like dinner and a movie for me, all in one stop. I love love love watching chefs and sous chefs and salad chefs and the rest of the crew working their stations. It’s so mesmerizing and awesome. It’s not creepy, right?
It’s like living that life vicariously through them, even if it’s only for a night.
The restaurants that have bar-top seating directly alongside their open kitchens get extra points in my book!
Something I’ve noticed in most professional kitchens, through various open-kitchen-watching excursions, is that they almost always have this same mandolin at one of their stations. It’s very recognizable because of its minty green hue. You know a kitchen tool is great when restaurants stock it.
Long story short, I bought myself one and I haven’t looked back. (It’s $20 on Amazon.) It slices like a dream. It makes preparing two pounds of jalapeños for pickling a five-minute instead of 30-minute task. We’re in love.
So, if you’ve got a mandolin at home I highly recommend using it (carefully!) for this recipe. And do let me know how your ferment turns out! I’d love to see progress photos.
Some of my favorite Seattle restaurants with open kitchens:
- Revel (Fremont)
- Stoneburner (Ballard)
- Brunswick & Hunt (Ballard)
- Gravy (Vashon)
- San Fermo (Ballard)
My favorite pickling & fermentation tools:
I’ve been fermenting veggies for a couple years now. I know there are a lot of pickling tools and fermenting aids out there, and I’ve done a lot of research on just about all of them. But that’s awesome because it means you don’t have to!
Perfect Pickler: I started with this pickling set, a gift from Nicholas <3, which worked okay but was a little clunky. Regardless, it started me off on this wonderful pickling journey!
Kraut Source: This pickling tool is really sleek and completely stainless steel. I actually don’t own a Kraut Source, but I do follow them on Instagram and not only does their system seem like it works great, they provide great recipes and inspo for what to ferment.
EXTRA PERK: The main unit is completely stainless steel so it’ll last forever.
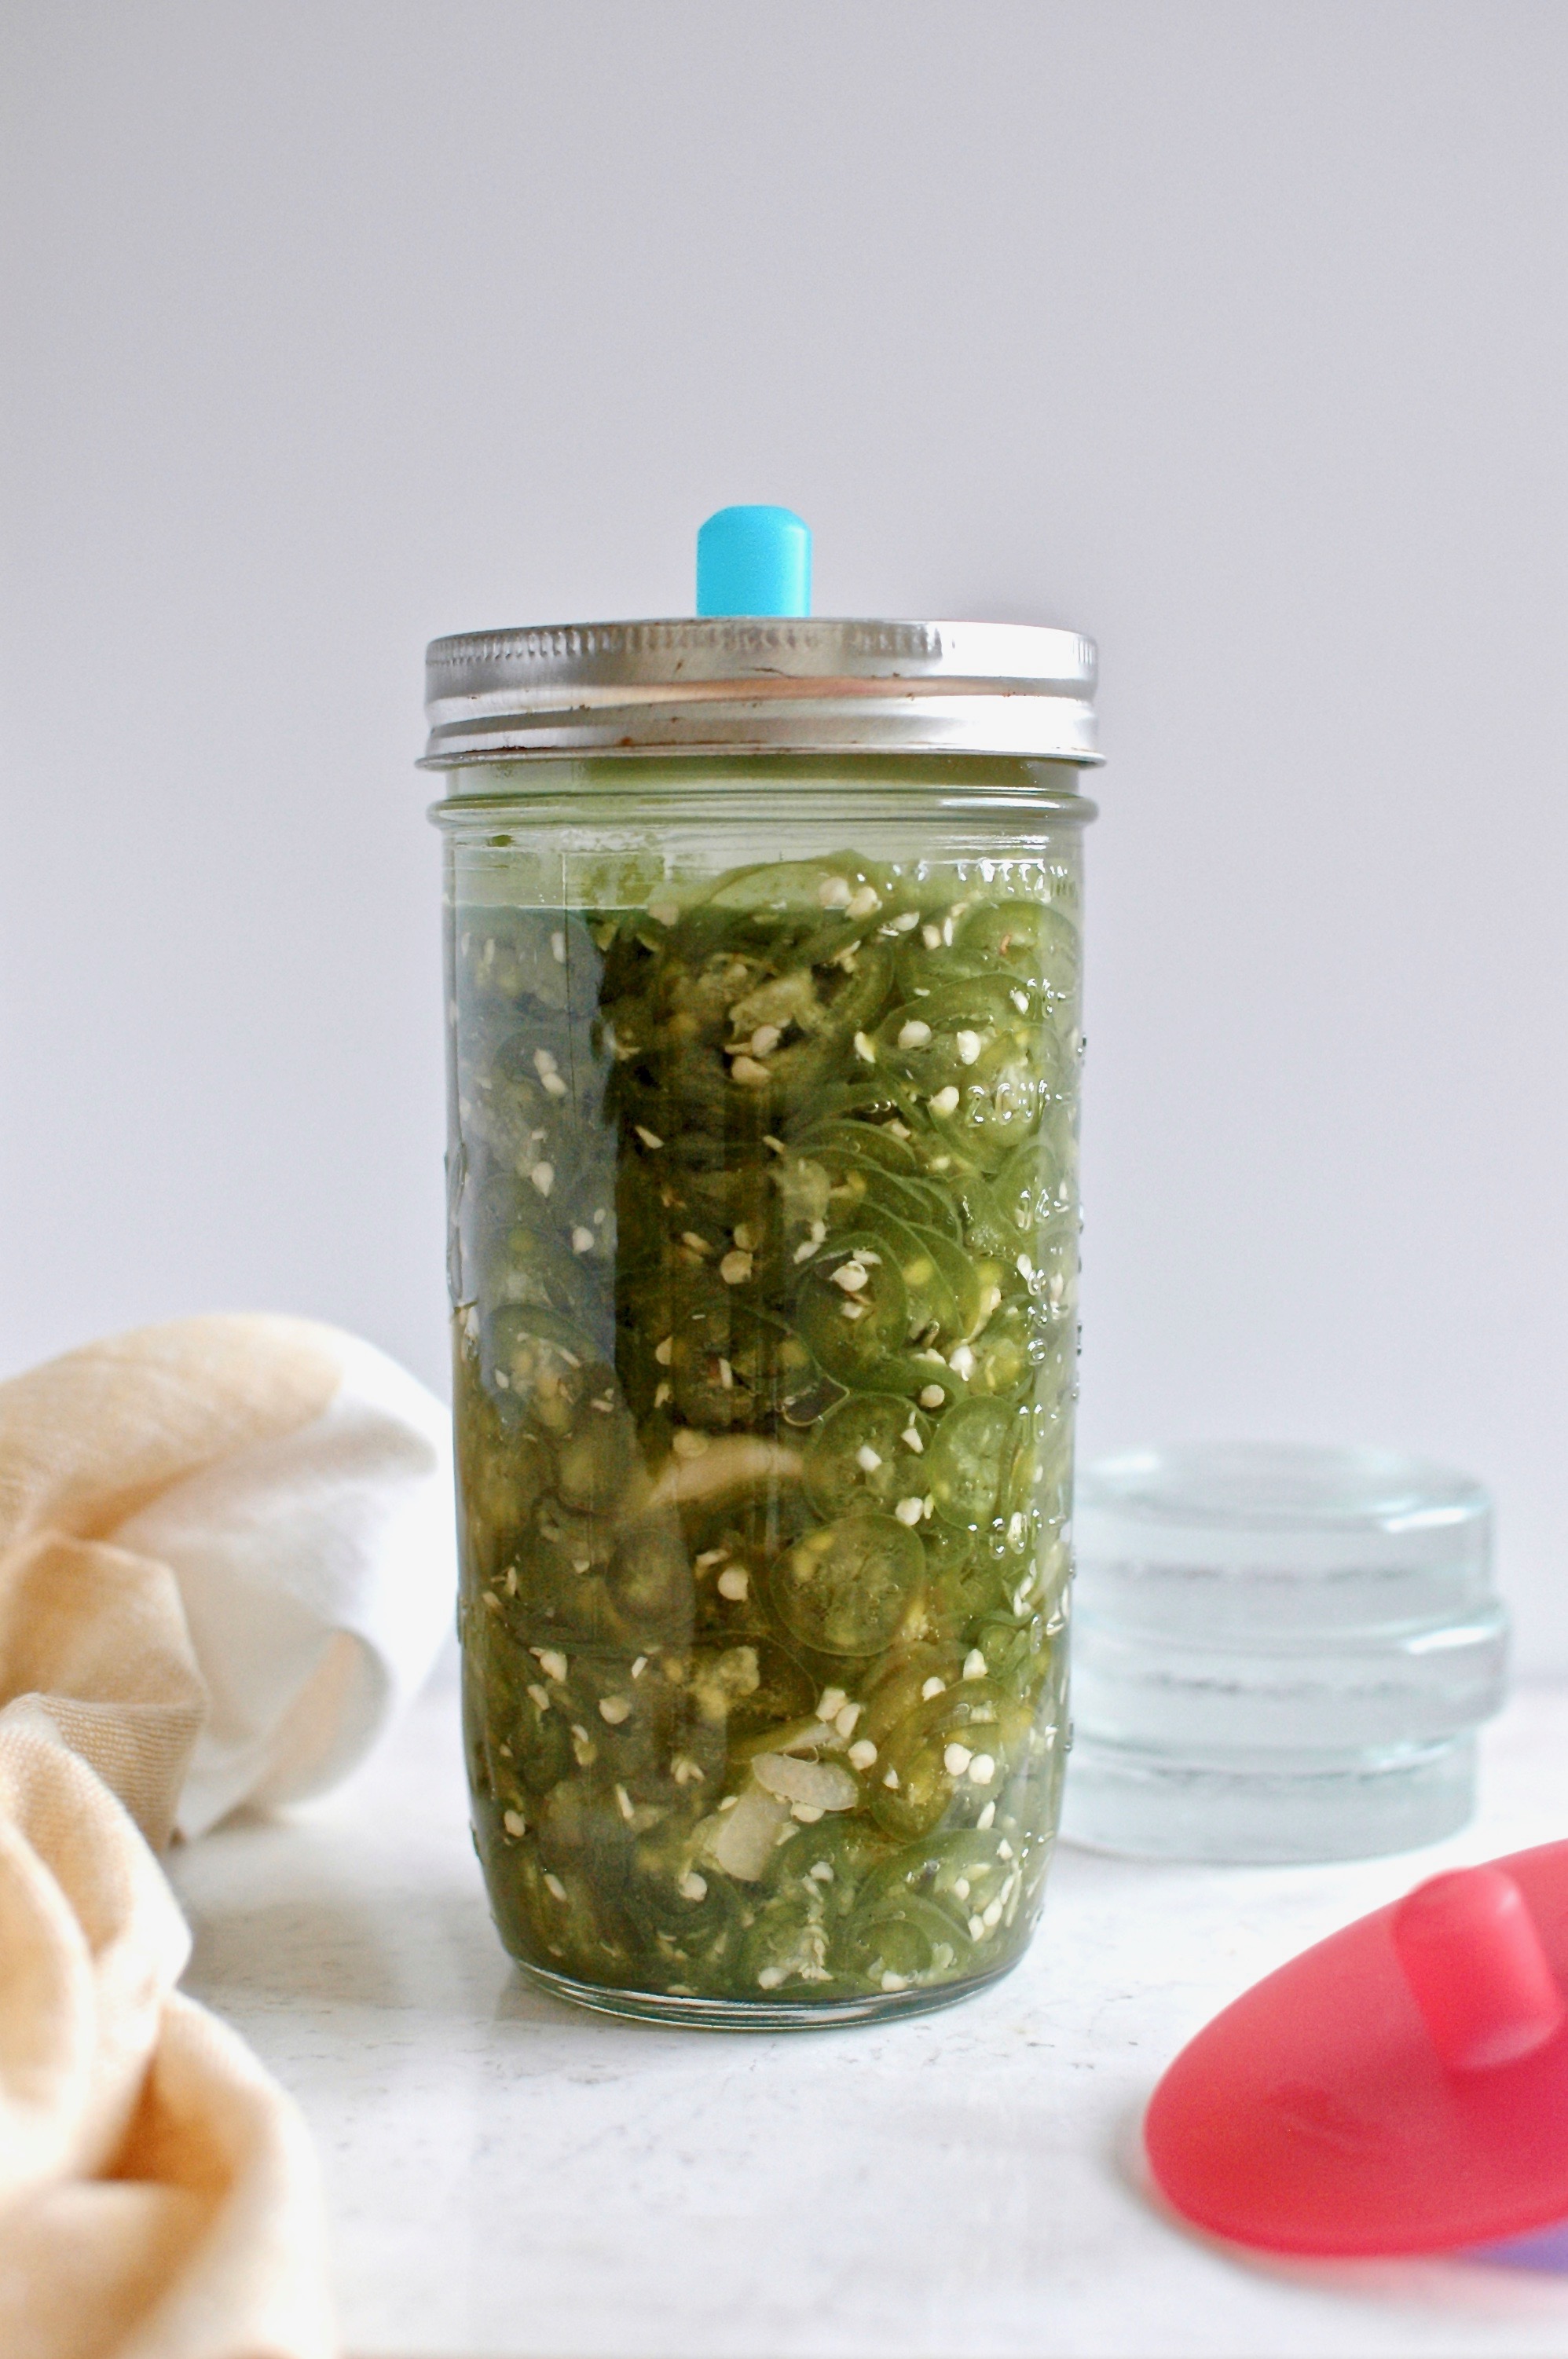
Masontops: This set of pickle “pipes” and tops is my jam. It makes it super easy to just throw a bunch of veggies into a jar, seal ‘em up, and done. The silicone airlocks look like nipples 😳 which is kind of silly but they work really well!
NOTE: These will probably also last forever!
Pickled jalapeños recipe and fermentation process:
Makes 1 quart of pickled jalapeños.
Ingredients:
- 1.5-2 lbs of fresh, organic jalapeño peppers
- 1 heaping tablespoon of sea salt (make sure it doesn’t contain any additives)
- 1 large clove of organic garlic, thinly sliced (optional)
Fermentation tools:
- 32 oz filtered water (or tap water that’s been sitting out on the counter overnight)
- Mandoline (optional)
- Large bowl
- Kitchen towel
- Wooden spoon
- 32oz jar or large resealable container
- Kitchen tongs
Steps:
Day 1:
- Leave about 32oz or 4 cups of tap water out on the counter in a large vessel overnight (I’ll usually do this in a large open jar or measuring cup.) Cover with a cloth to keep pests out. Skip this step if using filtered water.
Day 2:
- Clean the jalapeños in your de-chlorinated water, scrubbing them gently.
- Thinly slice jalapeños with a knife or mandolin.
- If using, thinly slice 1 large clove of garlic.
- In a large bowl, toss the sliced jalapeños (and garlic, if using) with sea salt. Mix well, applying pressure with your tongs (or spoon or hands) to massage the mixture a bit, until it starts releasing some of its liquid. Cover with a kitchen towel and let sit overnight.
Day 3:
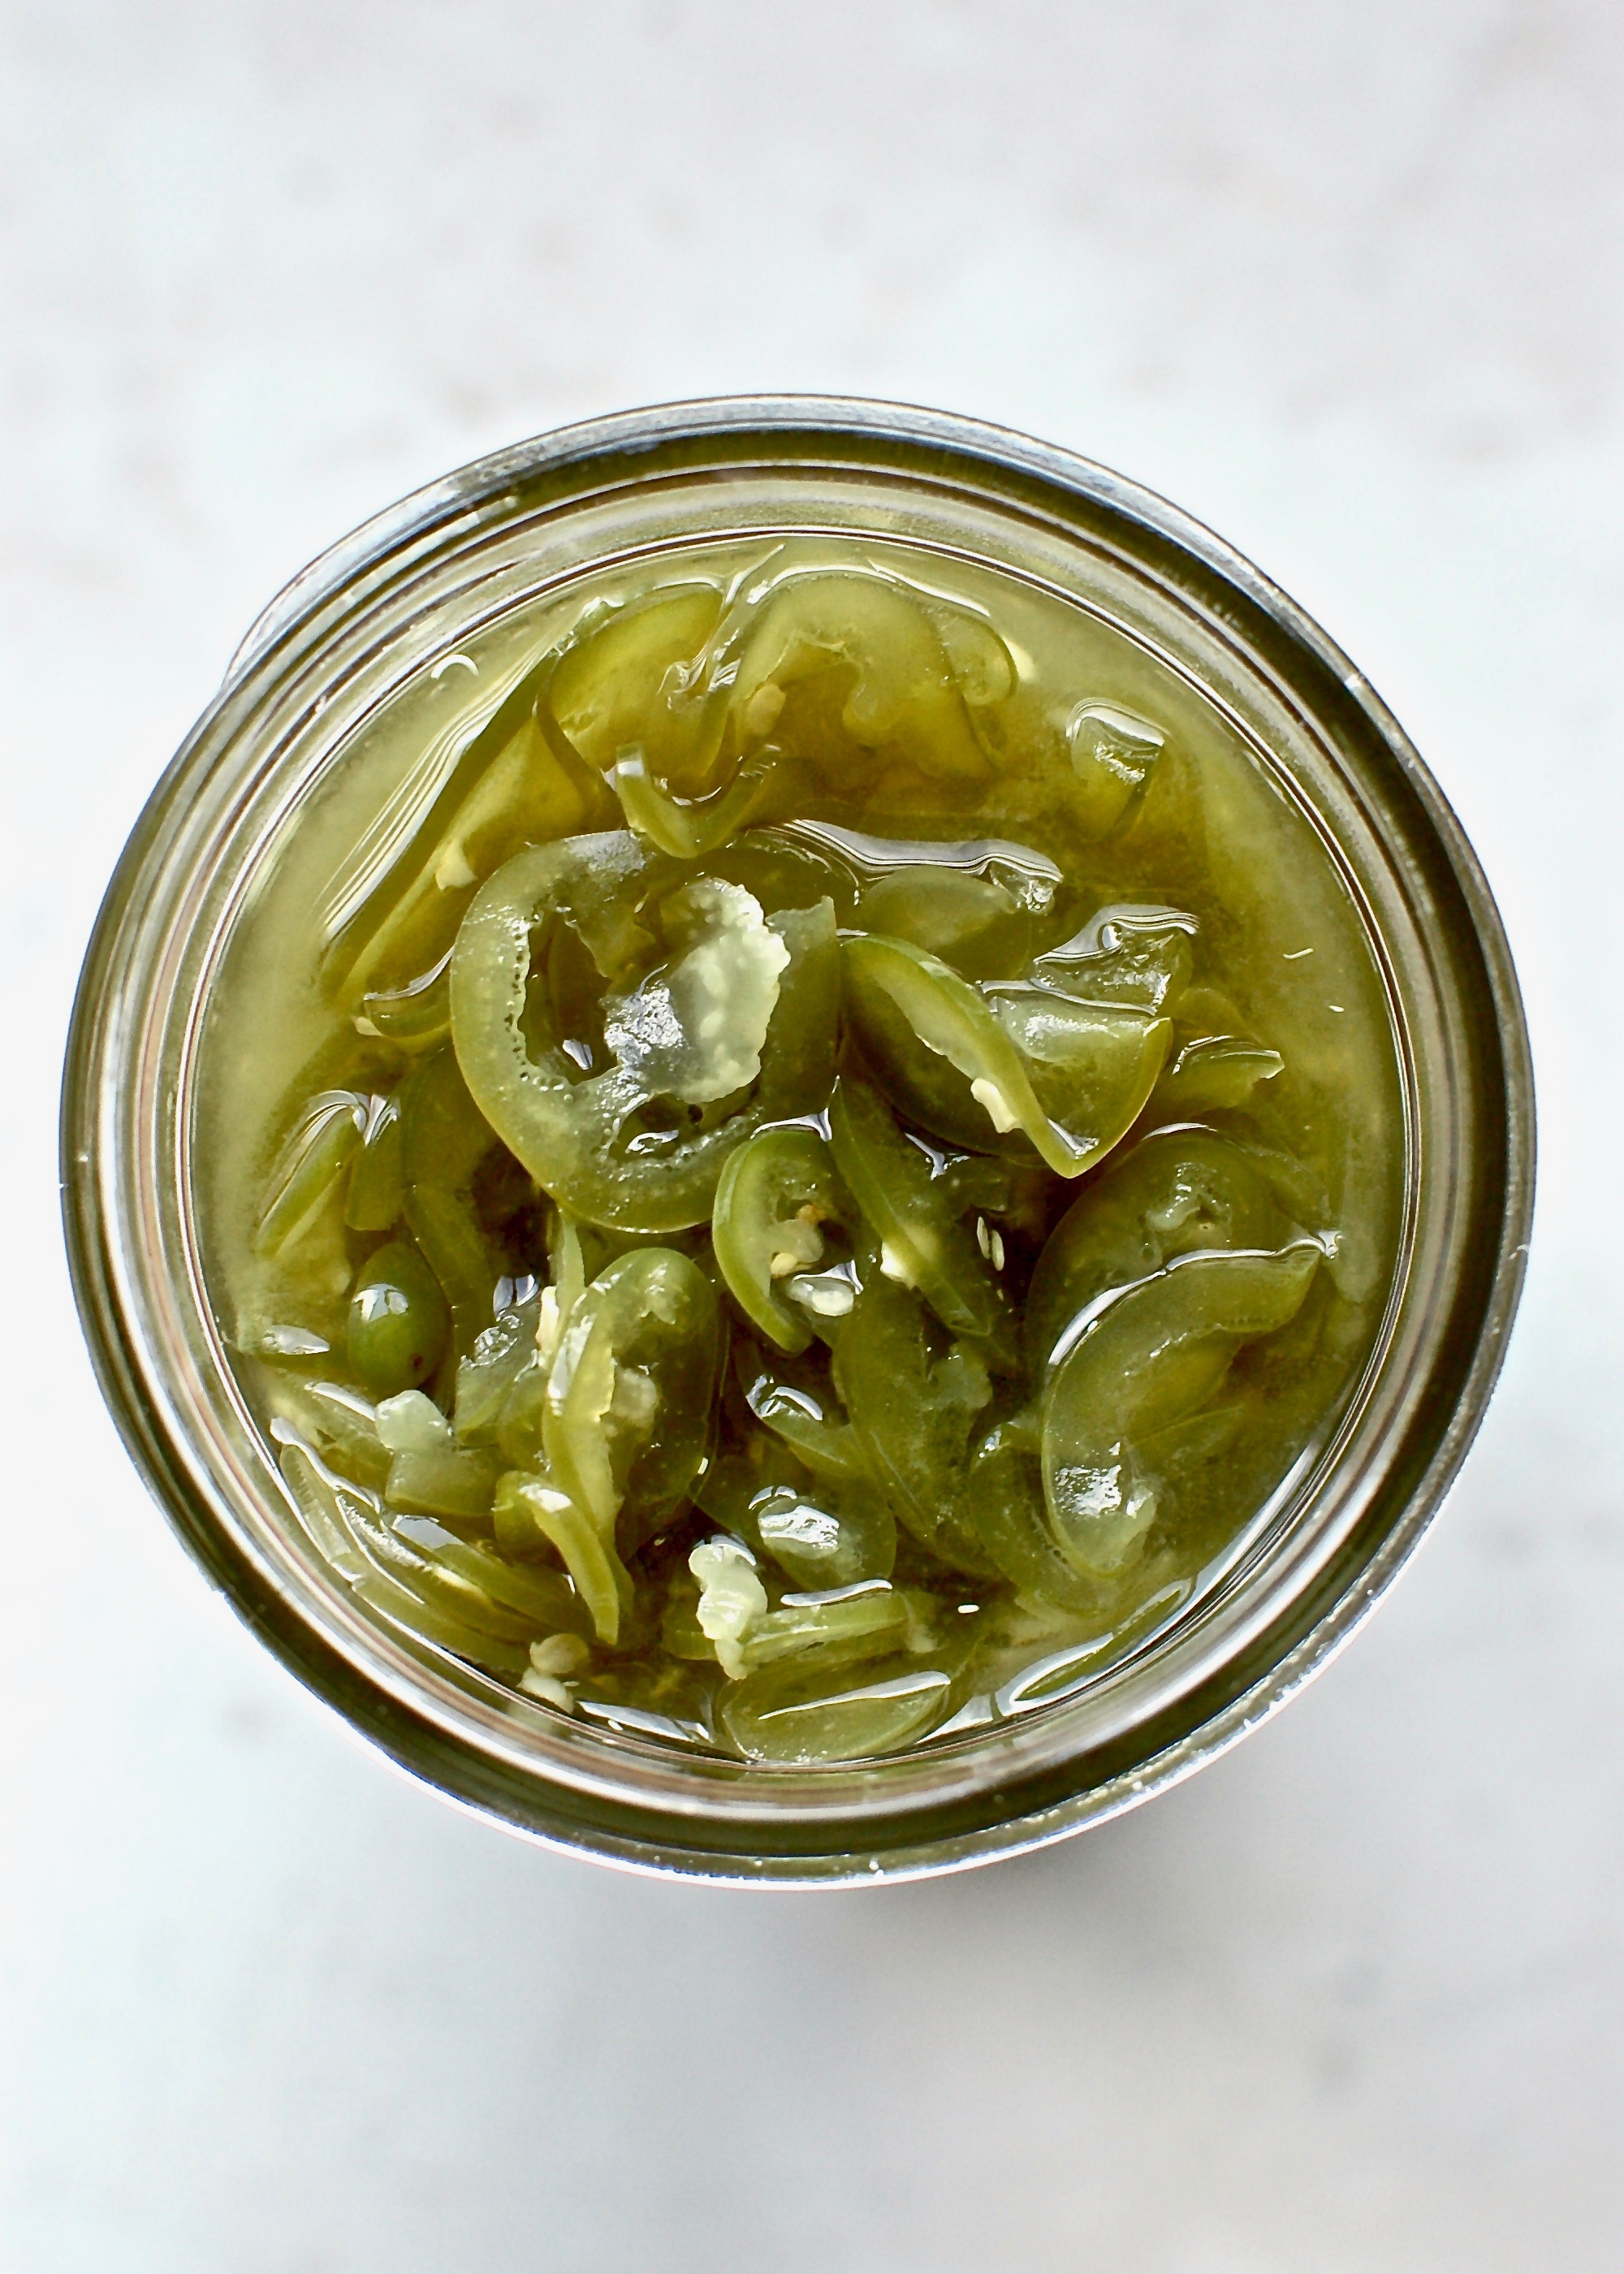
- Pack the mixture into a clean 32oz jar or resealable container. Make sure liquid completely covers the peppers. (It should have released a bunch overnight.) If it doesn’t, add a little bit of saltwater on top (mix 1 tsp sea salt to ½ cup water until dissolved).
- Cover the container with a clean cloth or kitchen towel and secure with kitchen twine or a rubber band. If you’ve got a top for pickling, use that. If you don’t have any of these things, close your container with its normal lid and make sure to open it (burp it) at least once per day. Carbonation builds up from the fermentation process and needs to escape somehow, don’t let your container explode!
- Store in a cool, dry place away from direct sunlight. If you’re using a pickling top, you may want to place the vessel in a shallow dish to catch any liquid that spills out (this happens as the fermentation draws additional liquid out of the vegetable and combined with the carbonation will increase the volume.)
- Start testing your pickles after about of a week of fermentation. Taste test them each day until they are at your desired sourness. The sour flavor develops from the lactic acid that’s produced as a byproduct of the fermentation (lacto-fermentation)!
- Once your pickles are done, seal them and store them in the fridge. The cooler temperature drastically slows down the fermentation process, though it will continue very slightly in there. They will keep in the fridge for months.
Notes:
It’s helpful to make a note of when you started the fermentation process. Either mark directly on the jar or fermentation vessel or write yourself a note so you remember how long it’s been!
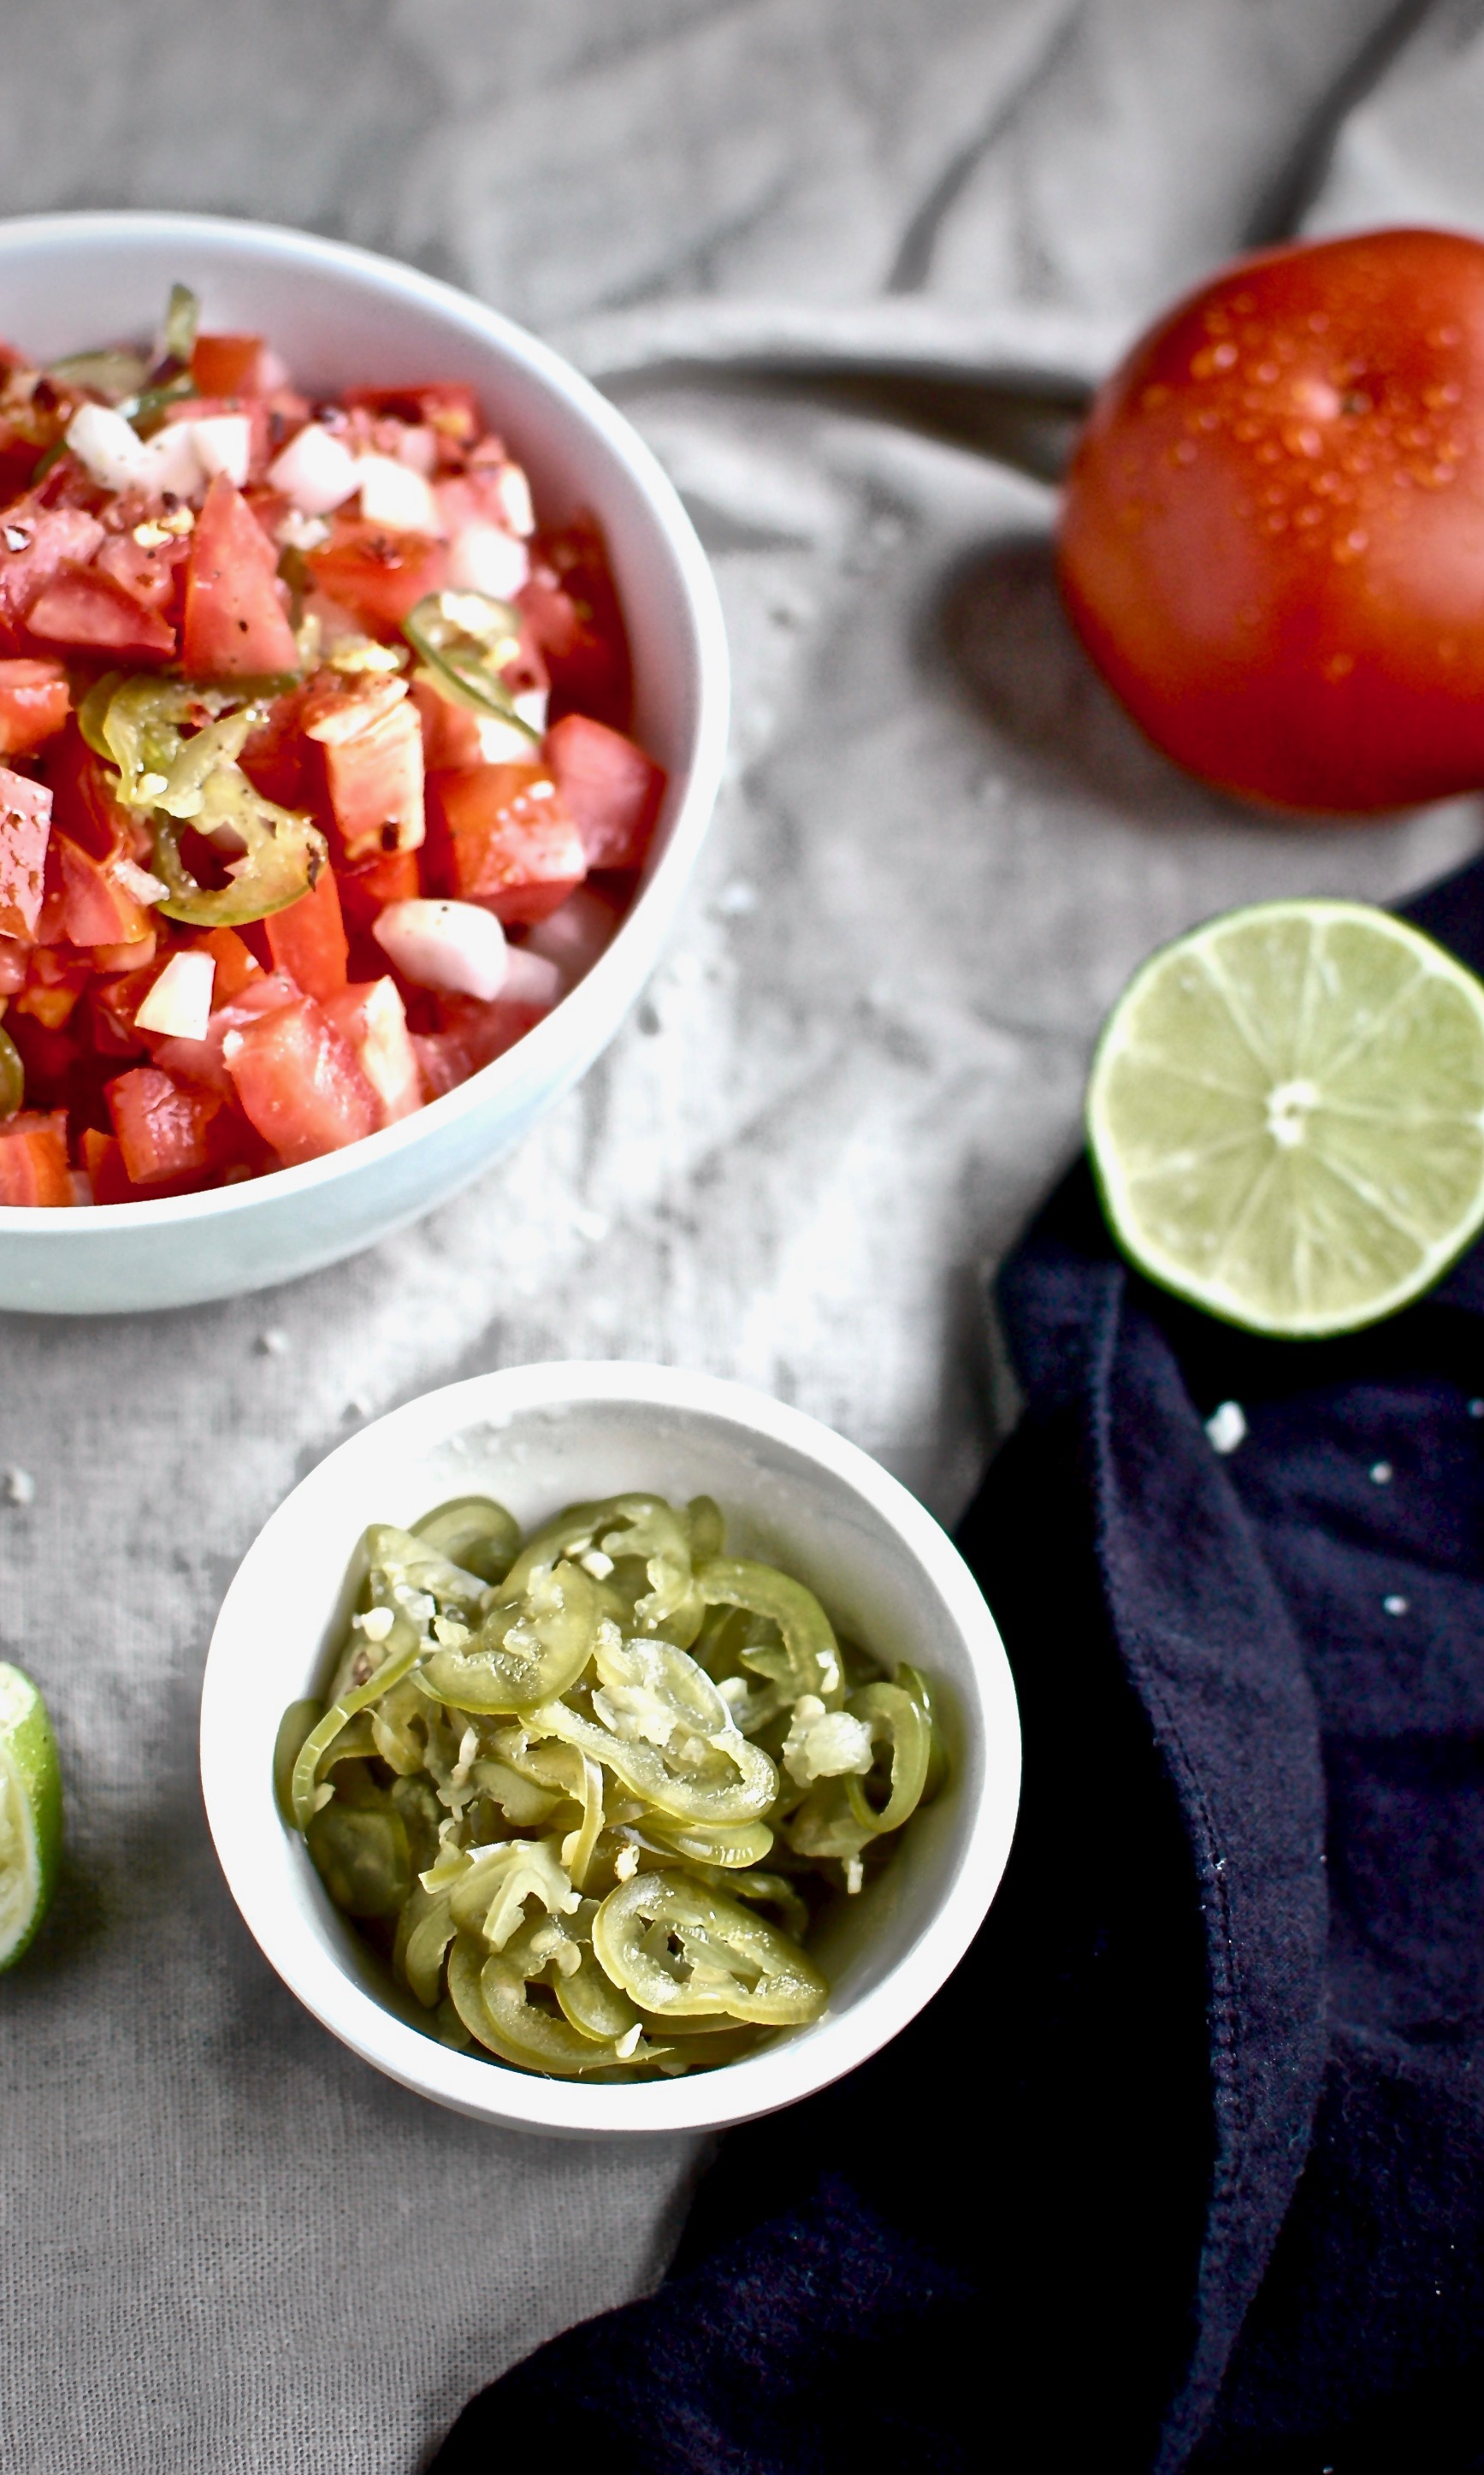
Don’t can these pickles → the high temperatures from canning will kill the healthy bacteria you’ve worked “so hard” to grow! 😉 Similarly, cooking them in high heat will kill the healthy bacteria too. They are best eaten cold straight from the fridge, as toppings or sides to dishes, or tossed into dishes just before serving.

Pickled jalapeños are my favorite thing to ferment, hands down. I make these beautiful green babies multiple times a year.
Ingredients
- 1.5-2 lbs of fresh, organic jalapeño peppers
- 1 heaping tablespoon of sea salt (make sure it doesn’t contain any additives)
- 1 large clove of organic garlic, thinly sliced (optional)
- 32 oz filtered water (or tap water that’s been sitting out on the counter overnight)
- Mandoline (optional)
- Large bowl
- Kitchen towel
- Wooden spoon
- 32oz jar or large resealable container
- Kitchen tongs
Instructions
- Leave about 32oz or 4 cups of tap water out on the counter in a large vessel overnight (I’ll usually do this in a large open jar or measuring cup.) Cover with a cloth to keep pests out. Skip this step if using filtered water.
- Clean the jalapeños in your de-chlorinated water, scrubbing them gently. Thinly slice jalapeños with a knife or mandolin. If using, thinly slice 1 large clove of garlic. In a large bowl, toss the sliced jalapeños (and garlic, if using) with sea salt. Mix well, applying pressure with your tongs (or spoon or hands) to massage the mixture a bit, until it starts releasing some of its liquid. Cover with a kitchen towel and let sit overnight.
- Pack the mixture into a clean 32oz jar or resealable container. Make sure liquid completely covers the peppers. (It should have released a bunch overnight.) If it doesn’t, add a little bit of saltwater on top (mix 1 tsp sea salt to ½ cup water until dissolved). Cover the container with a clean cloth or kitchen towel and secure with kitchen twine or a rubber band. If you’ve got a top for pickling, use that. If you don’t have any of these things, close your container with its normal lid and make sure to open it (burp it) at least once per day. Carbonation builds up from the fermentation process and needs to escape somehow, don’t let your container explode! Store in a cool, dry place away from direct sunlight. If you’re using a pickling top, you may want to place the vessel in a shallow dish to catch any liquid that spills out (this happens as the fermentation draws additional liquid out of the vegetable and combined with the carbonation will increase the volume.)
- Start testing your pickles after about of a week of fermentation. Taste test them each day until they are at your desired sourness. The sour flavor develops from the lactic acid that’s produced as a byproduct of the fermentation (lacto-fermentation)! Once your pickles are done, seal them and store them in the fridge. The cooler temperature drastically slows down the fermentation process, though it will continue very slightly in there. They will keep in the fridge for months.
Notes
It’s helpful to make a note of when you started the fermentation process. Either mark directly on the jar or fermentation vessel or write yourself a note so you remember how long it’s been!
Don’t can these pickles → the high temperatures from canning will kill the healthy bacteria you’ve worked “so hard” to grow! Similarly, cooking them in high heat will kill the healthy bacteria too. They are best eaten cold from the fridge, as toppings or sides to dishes, or tossed into dishes just before serving.